Showing posts with label macro. Show all posts

Monday, 25 October 2010

FujiFilm HS-10 - Zoom Bracketing Test

Note : This has now been updated with some 'field' examples. See further down the page

Someone on the DPReview FufiFilm Talk Forum asked me if I had tried the Zoom Bracketing function on the HS-10.

Simple answer was no. When I first got the HS-10, I did try out the Best Frame Capture and also the Top 7 capture functions.

The one thing which I found I didn't like about these functions was that the Dynamic Range (DR) was always limited to DR 100%. The HS-10 is far better when DR 200% is used. Consequently, I never tried Zoom Bracketing.

However, whilst playing with this function today, I was very pleasantly surprised to find that the DR is not limited to 100%. Good news. The main limitation is that Raw cannot be used.

A simple explanation of how the Zoom Bracketing works, is that one image is taken and then two alternate levels of zoom are applied in-camera, by cropping the original image.

So, the original image is at normal size, the second is at an equivalent of 1.4 X zoom, the third at an equivalent of 2 X zoom.

This means that if shooting at full zoom (720 mm), the second image becomes equivalent to 1,008 mm, and the third 1,440 mm.

One thing to keep in mind, is that the original is simply being cropped and not re-interpolated to the original size, nor having additional processing applied in-camera. The same is true if 2 X digital zoom is used without the Zoom Bracketing function.

This means :
  • Original is 3648 x 2736 pixels = 10 mp
  • 1.4 times image is 2592 x 1994 pixels = 5.1 mp
  • 2 times image is 2048 x 1536 pixels = 3.1 mp.


Image Series 1 - Test Images

Note : The test images below are taken with a macro close up lens attached. All the images are as shot. However, they have been sharpened and resized for posting here. Clicking on any image will take you to a larger size

These three images are shot at 180 mm.

The first is at normal zoom, the second at 1.4 X (250 mm), the third at 2 X (360 mm).


Image Series 2 - Test Images

These three images are shot at 720 mm.

The first is at normal zoom, the second at 1.4 X (1,008 mm), the third at 2 X (1,440 mm).


I also did some experimentation by cropping the normal zoom image to match the 2 X zoom image. The end result is the same.

Why would you use it ? Well, if you don't want to do post process work, this is a good way to get in much tighter. It is a good alternative and produces a very usable image.

Realistically, you could easily print at 8 x 10" from the 2 X zoom image. Even larger if the image is good to start out with.


Image Series 3 - Outdoors

I've now had a chance to play around with this some more in the field.

The following images are shot at full zoom and also with digital zoom of either 1.4X or 2X.


The following images are all shot in Super Macro mode (24 mm) but have also had digital zoom of 1.4X, or 2X, applied.


The three images below show the (non) differences between using Digital Zoom, or simply cropping an original image to the same dimensions.

1. The original 10 mp image.


2. The 2 times 'in-camera' digital zoom image.
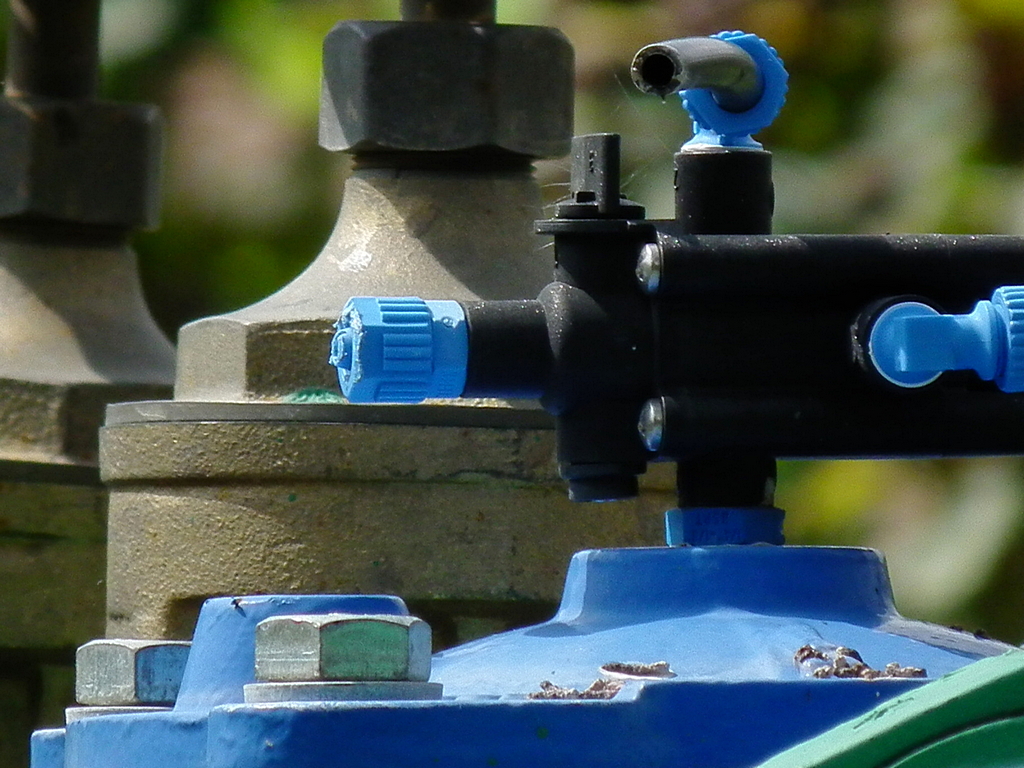


3. The original 10 mp image cropped to match the 2 times digital zoom image.


Hope you found it helpful.


Cheers.


...

Friday, 22 October 2010

FujiFilm HS-10 - Macro Comparison

Recently I have seen some incredible macro images done with the HS-10. They are crisp and have an amazing amount of detail.

Many of my colleagues have some exotic macro lenses. One friend has one which he always claims is the 'cream' of macro lenses. Certainly I have seen images from it which are superb, and many reviews for this lens always rate it as being one of the very best.

Being the gracious chap he is, and also the fact he has more cameras/lenses than he knows what to do with, I asked him if I could borrow the 'rig' for a few days.

I am not going to name the camera/lens combination, as this is not about 'pissing on the parade' of that rig, it is about how good is the HS-10 lens in macro mode.

As I said this post was inspired by some simply amazing macros I saw from the HS-10. Personally, I have always found the HS-10 lens (as with most Fujinon lenses) to be incredibly sharp and clear.

So, with all that in mind, I set up a simple test setup. To satisfy myself, I shot many test images with the camera/macro lens rig (Camera 1) to determine it's sweetest spot.

Having done that, I then did a simple comparison shoot between Camera 1 and the HS-10. These were shot in Raw for Camera 1, and Raw + Jpeg for the HS-10.

I have always found that the HS-10 'sweet spot' is between f 5.6 and f 7.1, with f 6.4 being my preferred setting. However, and for the purposes of this exercise, I used f 5.6.

Image 1
This simply shows the two images (from Raw) as opened in Photoshop. Both have had levels adjusted. Nothing else.

Note : Clicking on any image will show you a larger size of that image


Image 2
The two images (from Raw) shown at 100% view. This is akin to viewing at about 30 x 40" print size.


Image 3
Camera 1 image (from Raw), at left, compared with HS-10 Jpeg. This is straight from camera with the exception of levels control to match the Camera 1 image. In other words, brightened slightly.


Image 4
Back to the two, from Raw, images. Now, both have had sharpening applied. Same amount for each.

See my Simple Sharpener post here


Image 5
Now sharpened Camera 1 image (from Raw), at left, with HS-10 Jpeg image at right.


Image 6
It may be difficult to see at these sizes, but the Camera 1 image was actually suffering quite a bit of luminance noise. More so than the HS-10 Raw image and also more than the HS-10 Jpeg image. Keep in mind though that the HS-10 Jpeg engine will be applying a degree of noise reduction.

When I first saw the out-of-camera HS-10 Jpeg image, I was quite impressed with it's overall clarity. So what I was trying to achieve here, was to see if I could 'tweak' the Camera 1 image to get a similar degree of sharpness and clarity.

What I have done here is to pass the Camera 1 image through Nik Dfine. The HS-10 Jpeg image is still as shot.


Image 7
The same as above but now viewing at 50%. This is roughly equal to viewing at a print size of 20 x 30".


Image 8
With my Camera 1 image now sharpened and with some noise reduction applied, I wanted to see how it would compare with the HS-10 image (from Raw) which has had sharpening applied, but no noise reduction applied. Frankly, it doesn't need any.


Image 9
Same as above but both images now viewed as if at a print size of 11 x 15".


Image 10
Almost all the time I shoot Raw (Raw + Jpeg). However, having used the new settings on the HS10 for the past several weeks, I am now starting to question why I do - For this camera. Simply, the Jpeg engine does an excellent job.

(The Jpeg settings I am using, can be found here )

So, below is the from camera HS-10 Jpeg (left), with the HS-10 from Raw image, at right.

As mentioned prior, the only post process work done to the Jpeg image was some slight levels adjustment. The same was applied to the from Raw image, and that has also been sharpened.

These are also being shown as if at a print size of 11 x 15"


After going through this exercise, I came to the following conclusions :
  • The HS-10 lens is remarkably sharp and clear
  • Shooting Jpeg only, for this sort of work, works extremely well
  • I'm not in the market for a specialised 'rig' for shooting macros
Below, and in this order, is the HS-10 Jpeg image, the HS-10 from Raw image and the Camera 1 image. All are shown in their finished state.


See also a second part to this, here


Cheers.


...